INNOVATE, THE LIBRARY Aaron Hankins 10/21/16 INNOVATE, THE LIBRARY Aaron Hankins 10/21/16 Learning About: Hyperbolic Geometry Read More FOOTWEAR, INNOVATE Aaron Hankins 10/20/16 FOOTWEAR, INNOVATE Aaron Hankins 10/20/16 Sneaker School - Recap Read More FOOTWEAR, INNOVATE Aaron Hankins 10/19/16 FOOTWEAR, INNOVATE Aaron Hankins 10/19/16 Sneaker School - Day 5 Read More
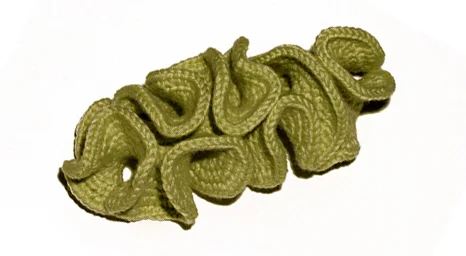
INNOVATE, THE LIBRARY Aaron Hankins 10/21/16 INNOVATE, THE LIBRARY Aaron Hankins 10/21/16 Learning About: Hyperbolic Geometry Read More
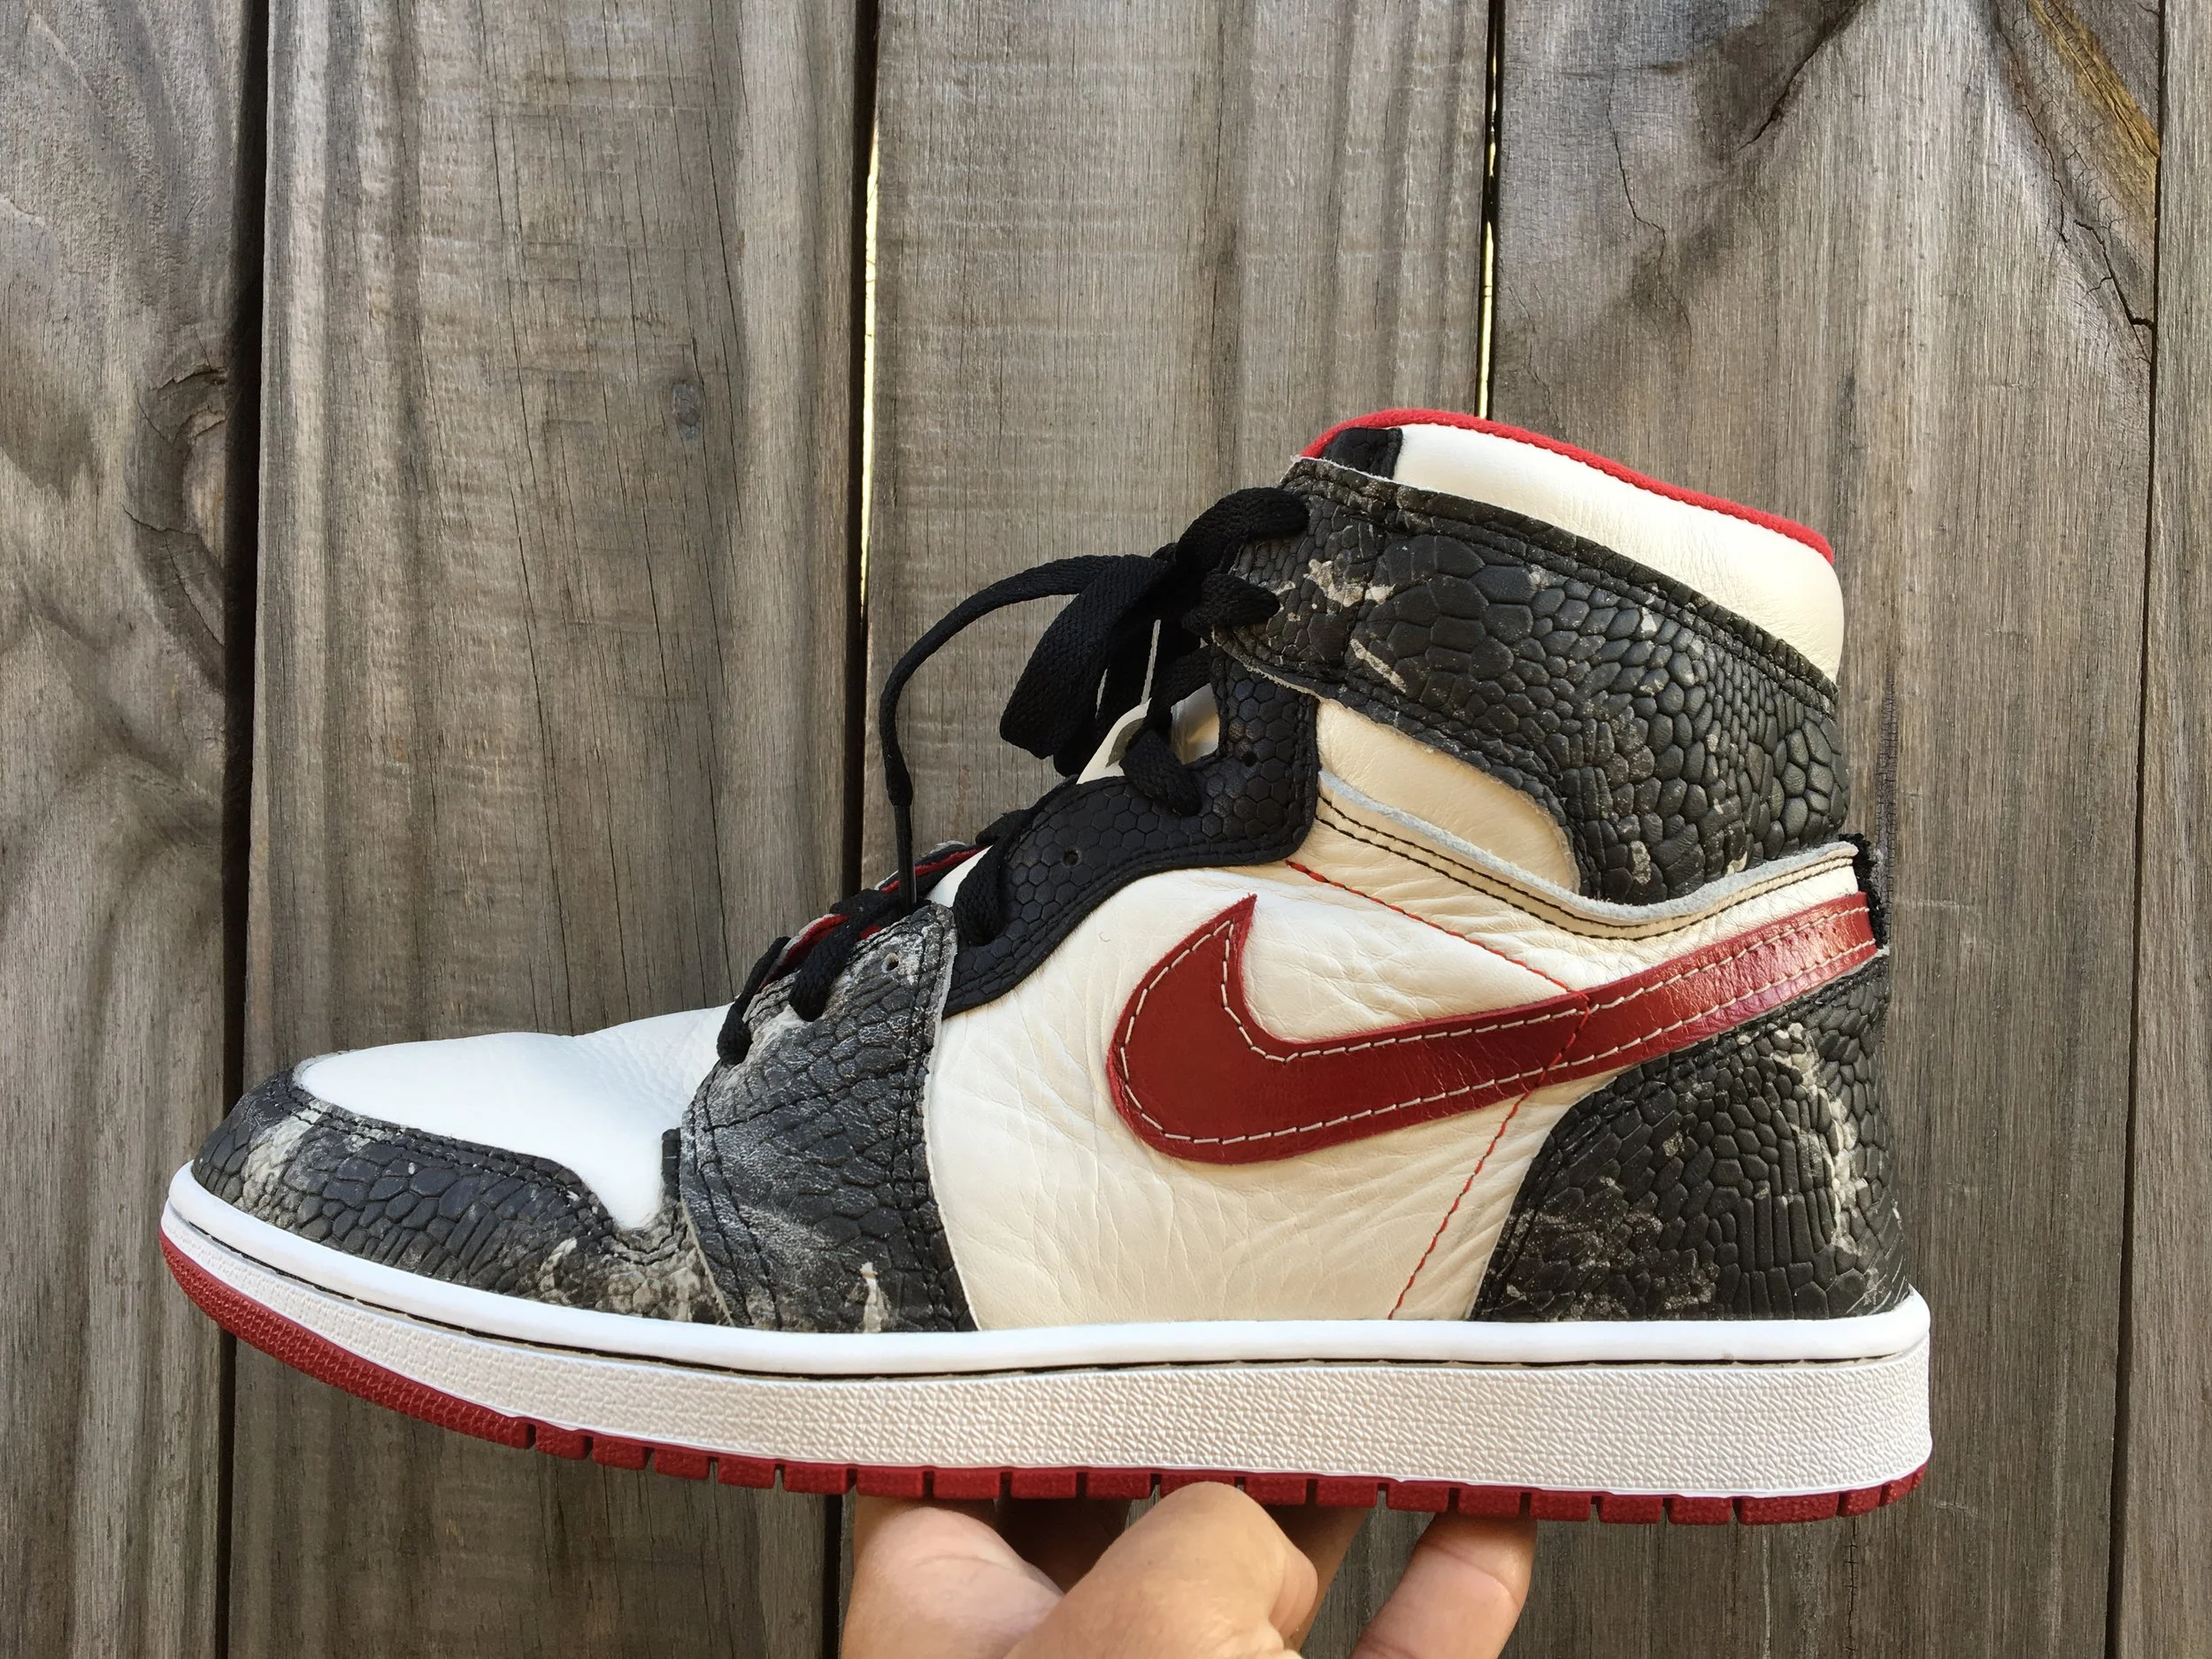
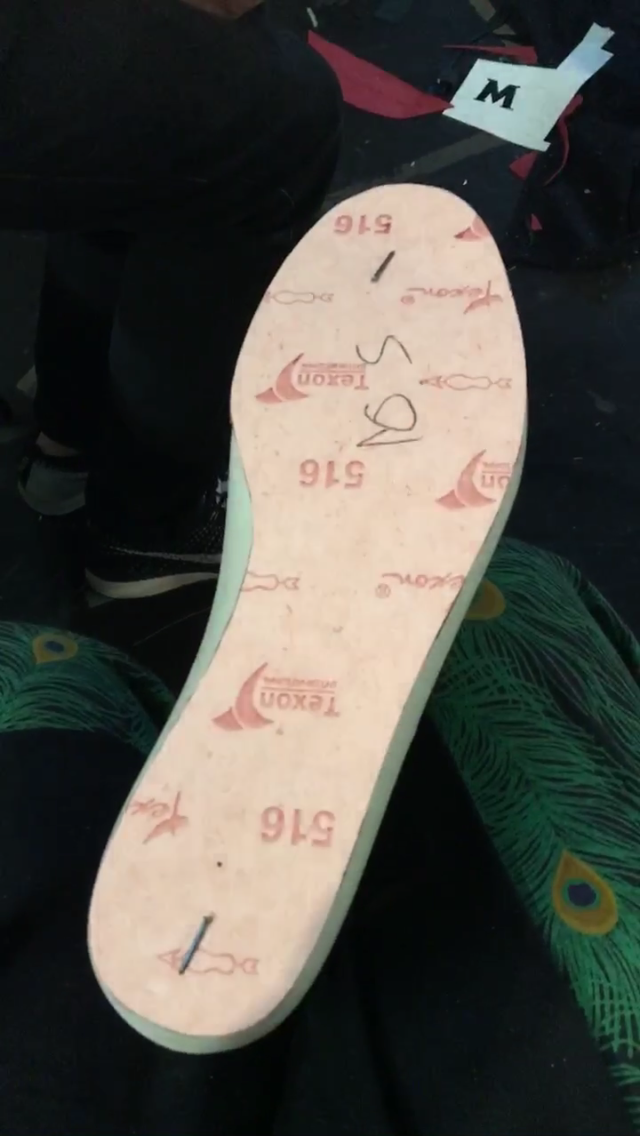
FOOTWEAR, INNOVATE Aaron Hankins 10/20/16 FOOTWEAR, INNOVATE Aaron Hankins 10/20/16 Sneaker School - Recap Read More
FOOTWEAR, INNOVATE Aaron Hankins 10/19/16 FOOTWEAR, INNOVATE Aaron Hankins 10/19/16 Sneaker School - Day 5 Read More