Sneaker School - Day 5
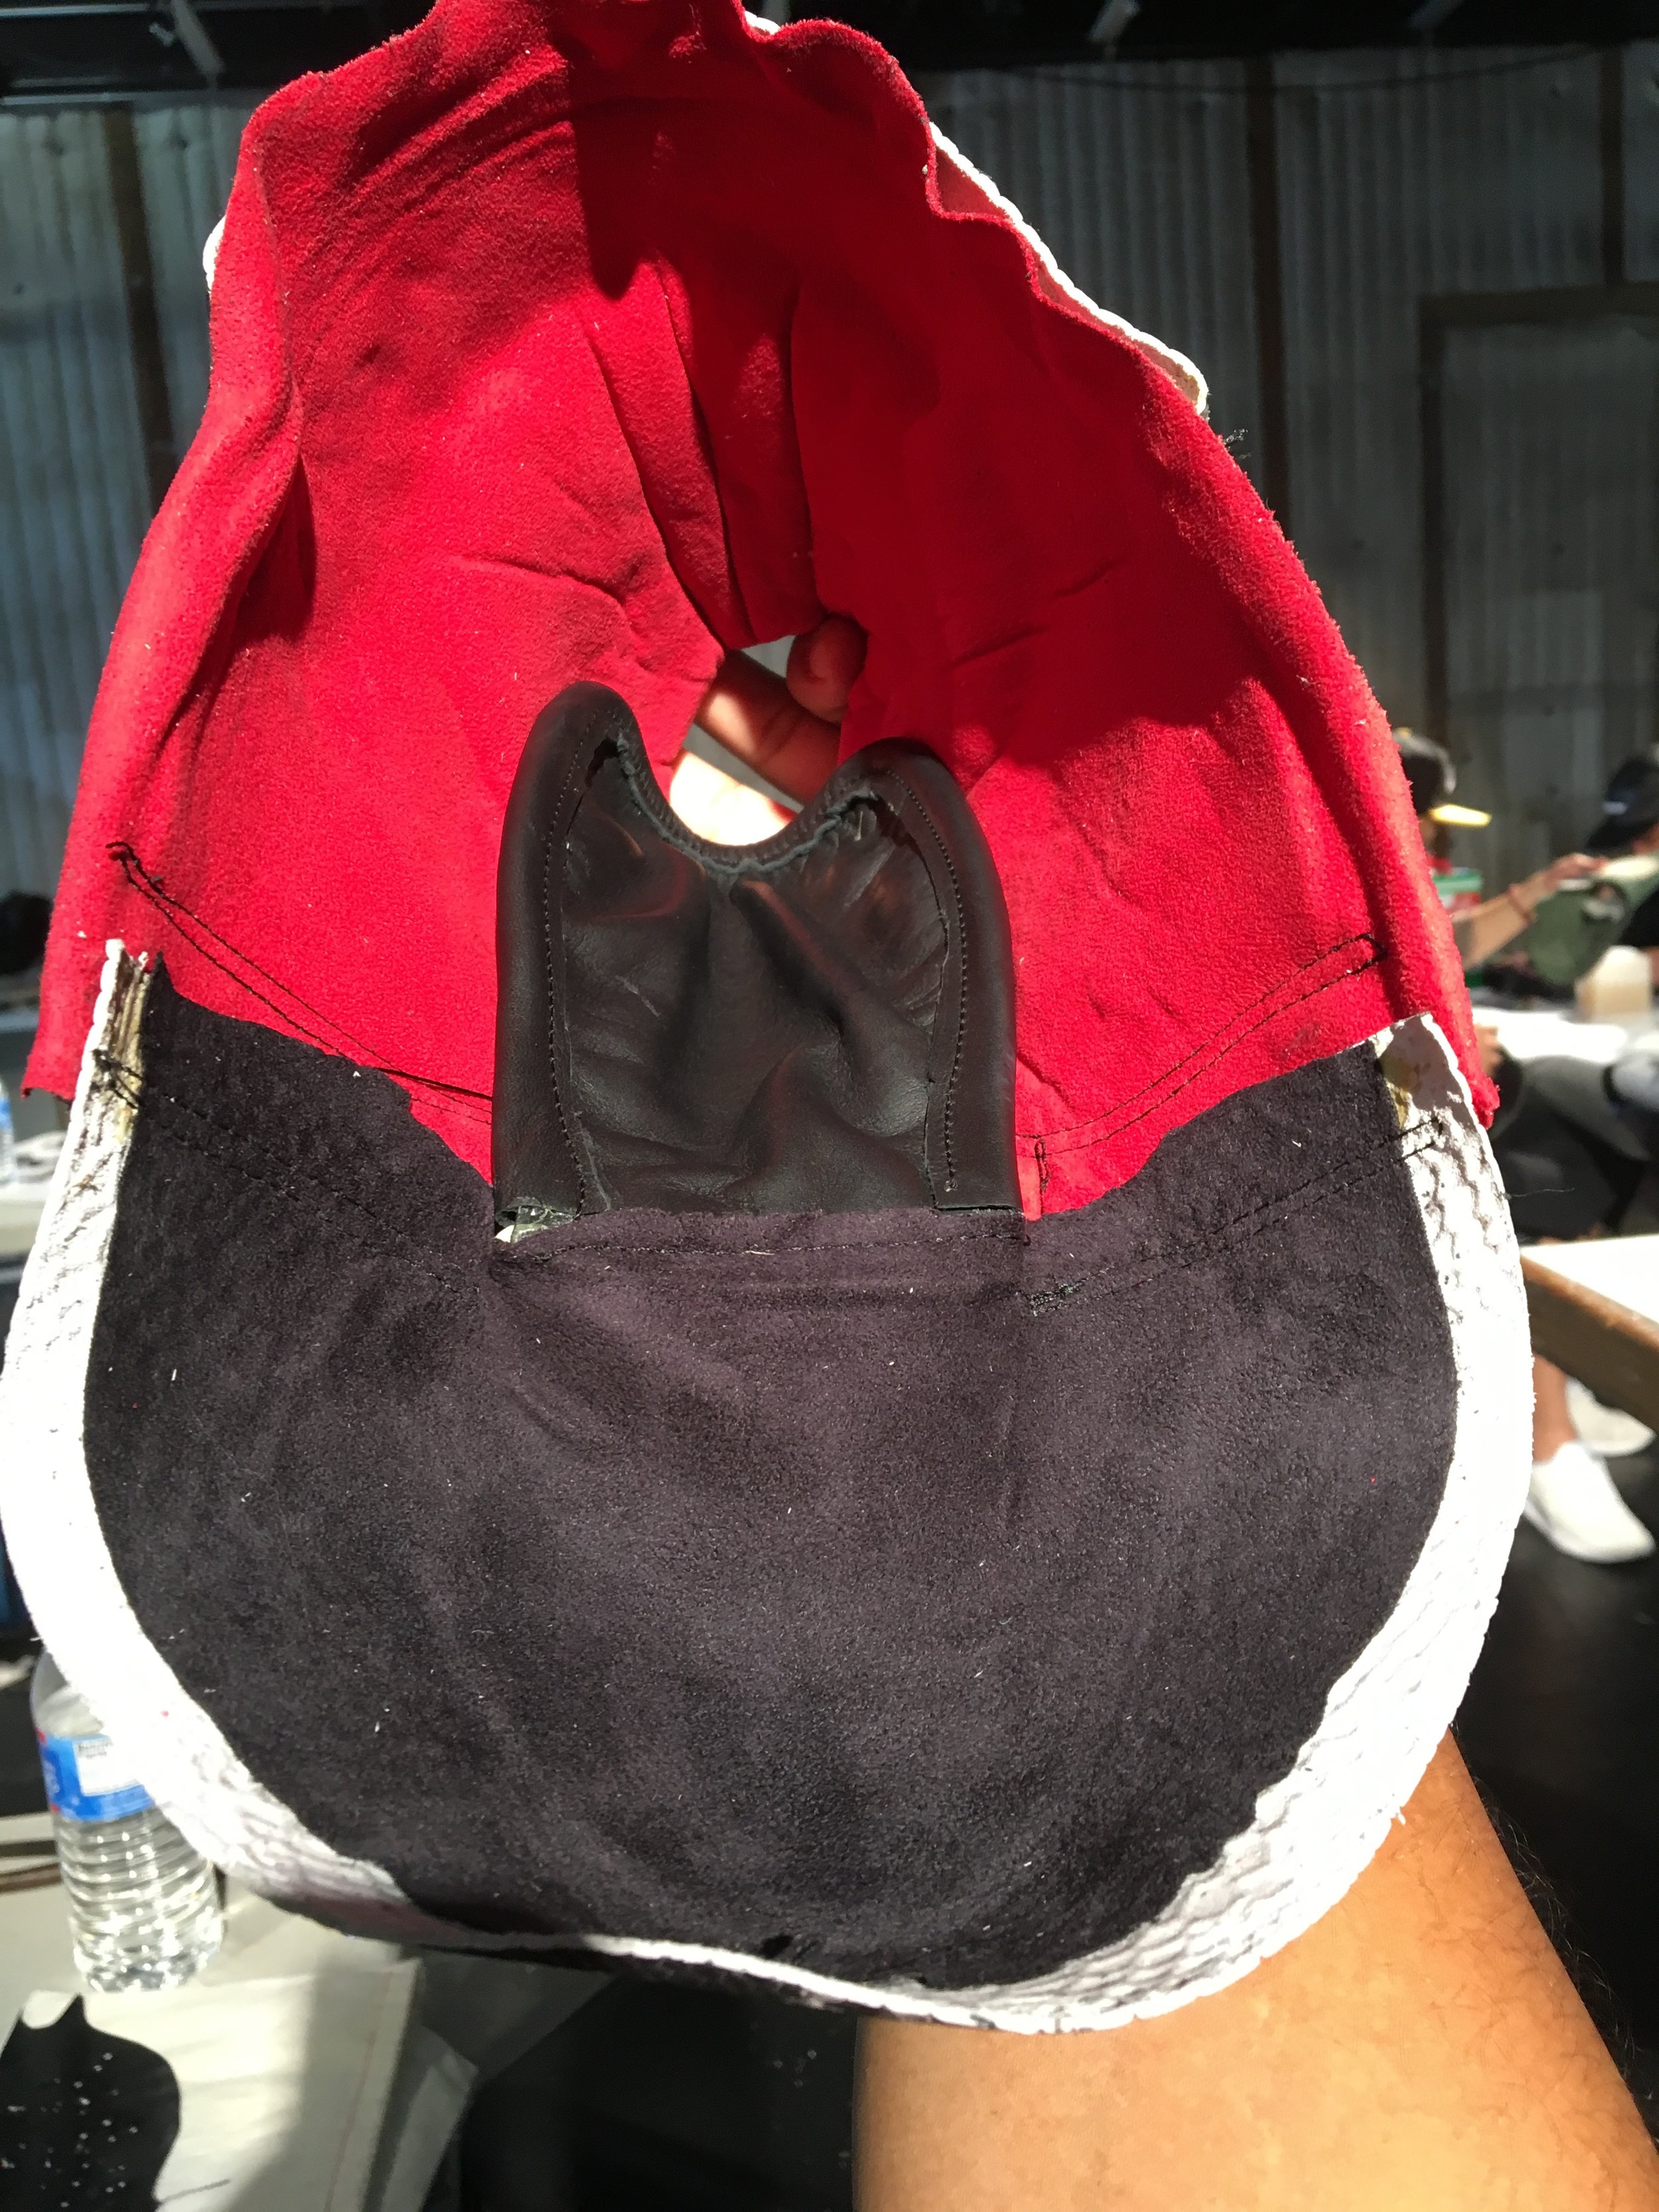
The 5th and last day is also the LAST day. I started out with a fully stitched upper, sock and toe liner included. The other students were at various stages of the construction process. As one person finished learning, they were teaching someone else how to do it. It was great,


The upper materials now need to stretch (lasted) over the silhouette of the Air Jordan 1. The shoe last is made in the shape of the shoe, and is made from a plastic so nails can be used to pull the leather tight . Before the leather is lasted, we nailed a board to the bottom of the last. This is the strobel, the bottom of the shoe and the part that holds everything together.
With the strobel tacked onto the last, I started pulling and nailing the leather to the last. First you pull down the heel, the the toe then alternate from side to side until the leather takes the shape of the last.


After lasting, the leather is bonded to the strobel, then the nails are removed.

The excess material on the bottom of the shoe is skived off to fit into the outsole.
After seating the upper into the outsole cup, you mark the permeter of the shoe with a pen, this is the cement bond line to hold the shoe together.
The outsole and upper are bonded together, then the upper and sole are stitched together.
Tomorrow, I'll share pictures of the sneakers and what I learned from the course.