FOOTWEAR, INNOVATE Aaron Hankins 11/15/16 FOOTWEAR, INNOVATE Aaron Hankins 11/15/16 Nike Ease Challenge II Read More INNOVATE Aaron Hankins 11/10/16 INNOVATE Aaron Hankins 11/10/16 Improving Creativity Read More FOOTWEAR, INNOVATE Aaron Hankins 11/1/16 FOOTWEAR, INNOVATE Aaron Hankins 11/1/16 Smart Shoes Read More FOOTWEAR, INNOVATE, THE LIBRARY Aaron Hankins 10/29/16 FOOTWEAR, INNOVATE, THE LIBRARY Aaron Hankins 10/29/16 Nike Ease Challenge Read More FOOTWEAR, INNOVATE Aaron Hankins 10/25/16 FOOTWEAR, INNOVATE Aaron Hankins 10/25/16 Showing the function Read More FOOTWEAR, INNOVATE, THE LIBRARY Aaron Hankins 10/22/16 FOOTWEAR, INNOVATE, THE LIBRARY Aaron Hankins 10/22/16 Learning About : 3D Drawing Read More INNOVATE, THE LIBRARY Aaron Hankins 10/21/16 INNOVATE, THE LIBRARY Aaron Hankins 10/21/16 Learning About: Hyperbolic Geometry Read More FOOTWEAR, INNOVATE Aaron Hankins 10/20/16 FOOTWEAR, INNOVATE Aaron Hankins 10/20/16 Sneaker School - Recap Read More FOOTWEAR, INNOVATE Aaron Hankins 10/19/16 FOOTWEAR, INNOVATE Aaron Hankins 10/19/16 Sneaker School - Day 5 Read More FOOTWEAR, INNOVATE Aaron Hankins 10/19/16 FOOTWEAR, INNOVATE Aaron Hankins 10/19/16 Sneaker School - Day 4 Read More Older Posts
FOOTWEAR, INNOVATE Aaron Hankins 11/15/16 FOOTWEAR, INNOVATE Aaron Hankins 11/15/16 Nike Ease Challenge II Read More
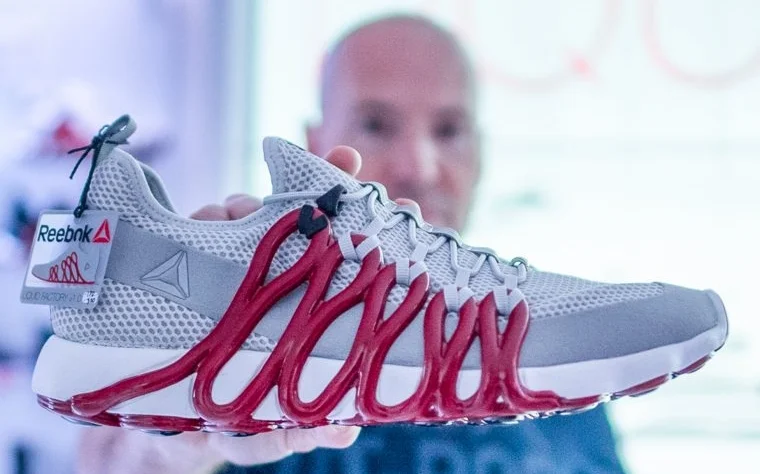
FOOTWEAR, INNOVATE Aaron Hankins 11/1/16 FOOTWEAR, INNOVATE Aaron Hankins 11/1/16 Smart Shoes Read More
FOOTWEAR, INNOVATE, THE LIBRARY Aaron Hankins 10/29/16 FOOTWEAR, INNOVATE, THE LIBRARY Aaron Hankins 10/29/16 Nike Ease Challenge Read More
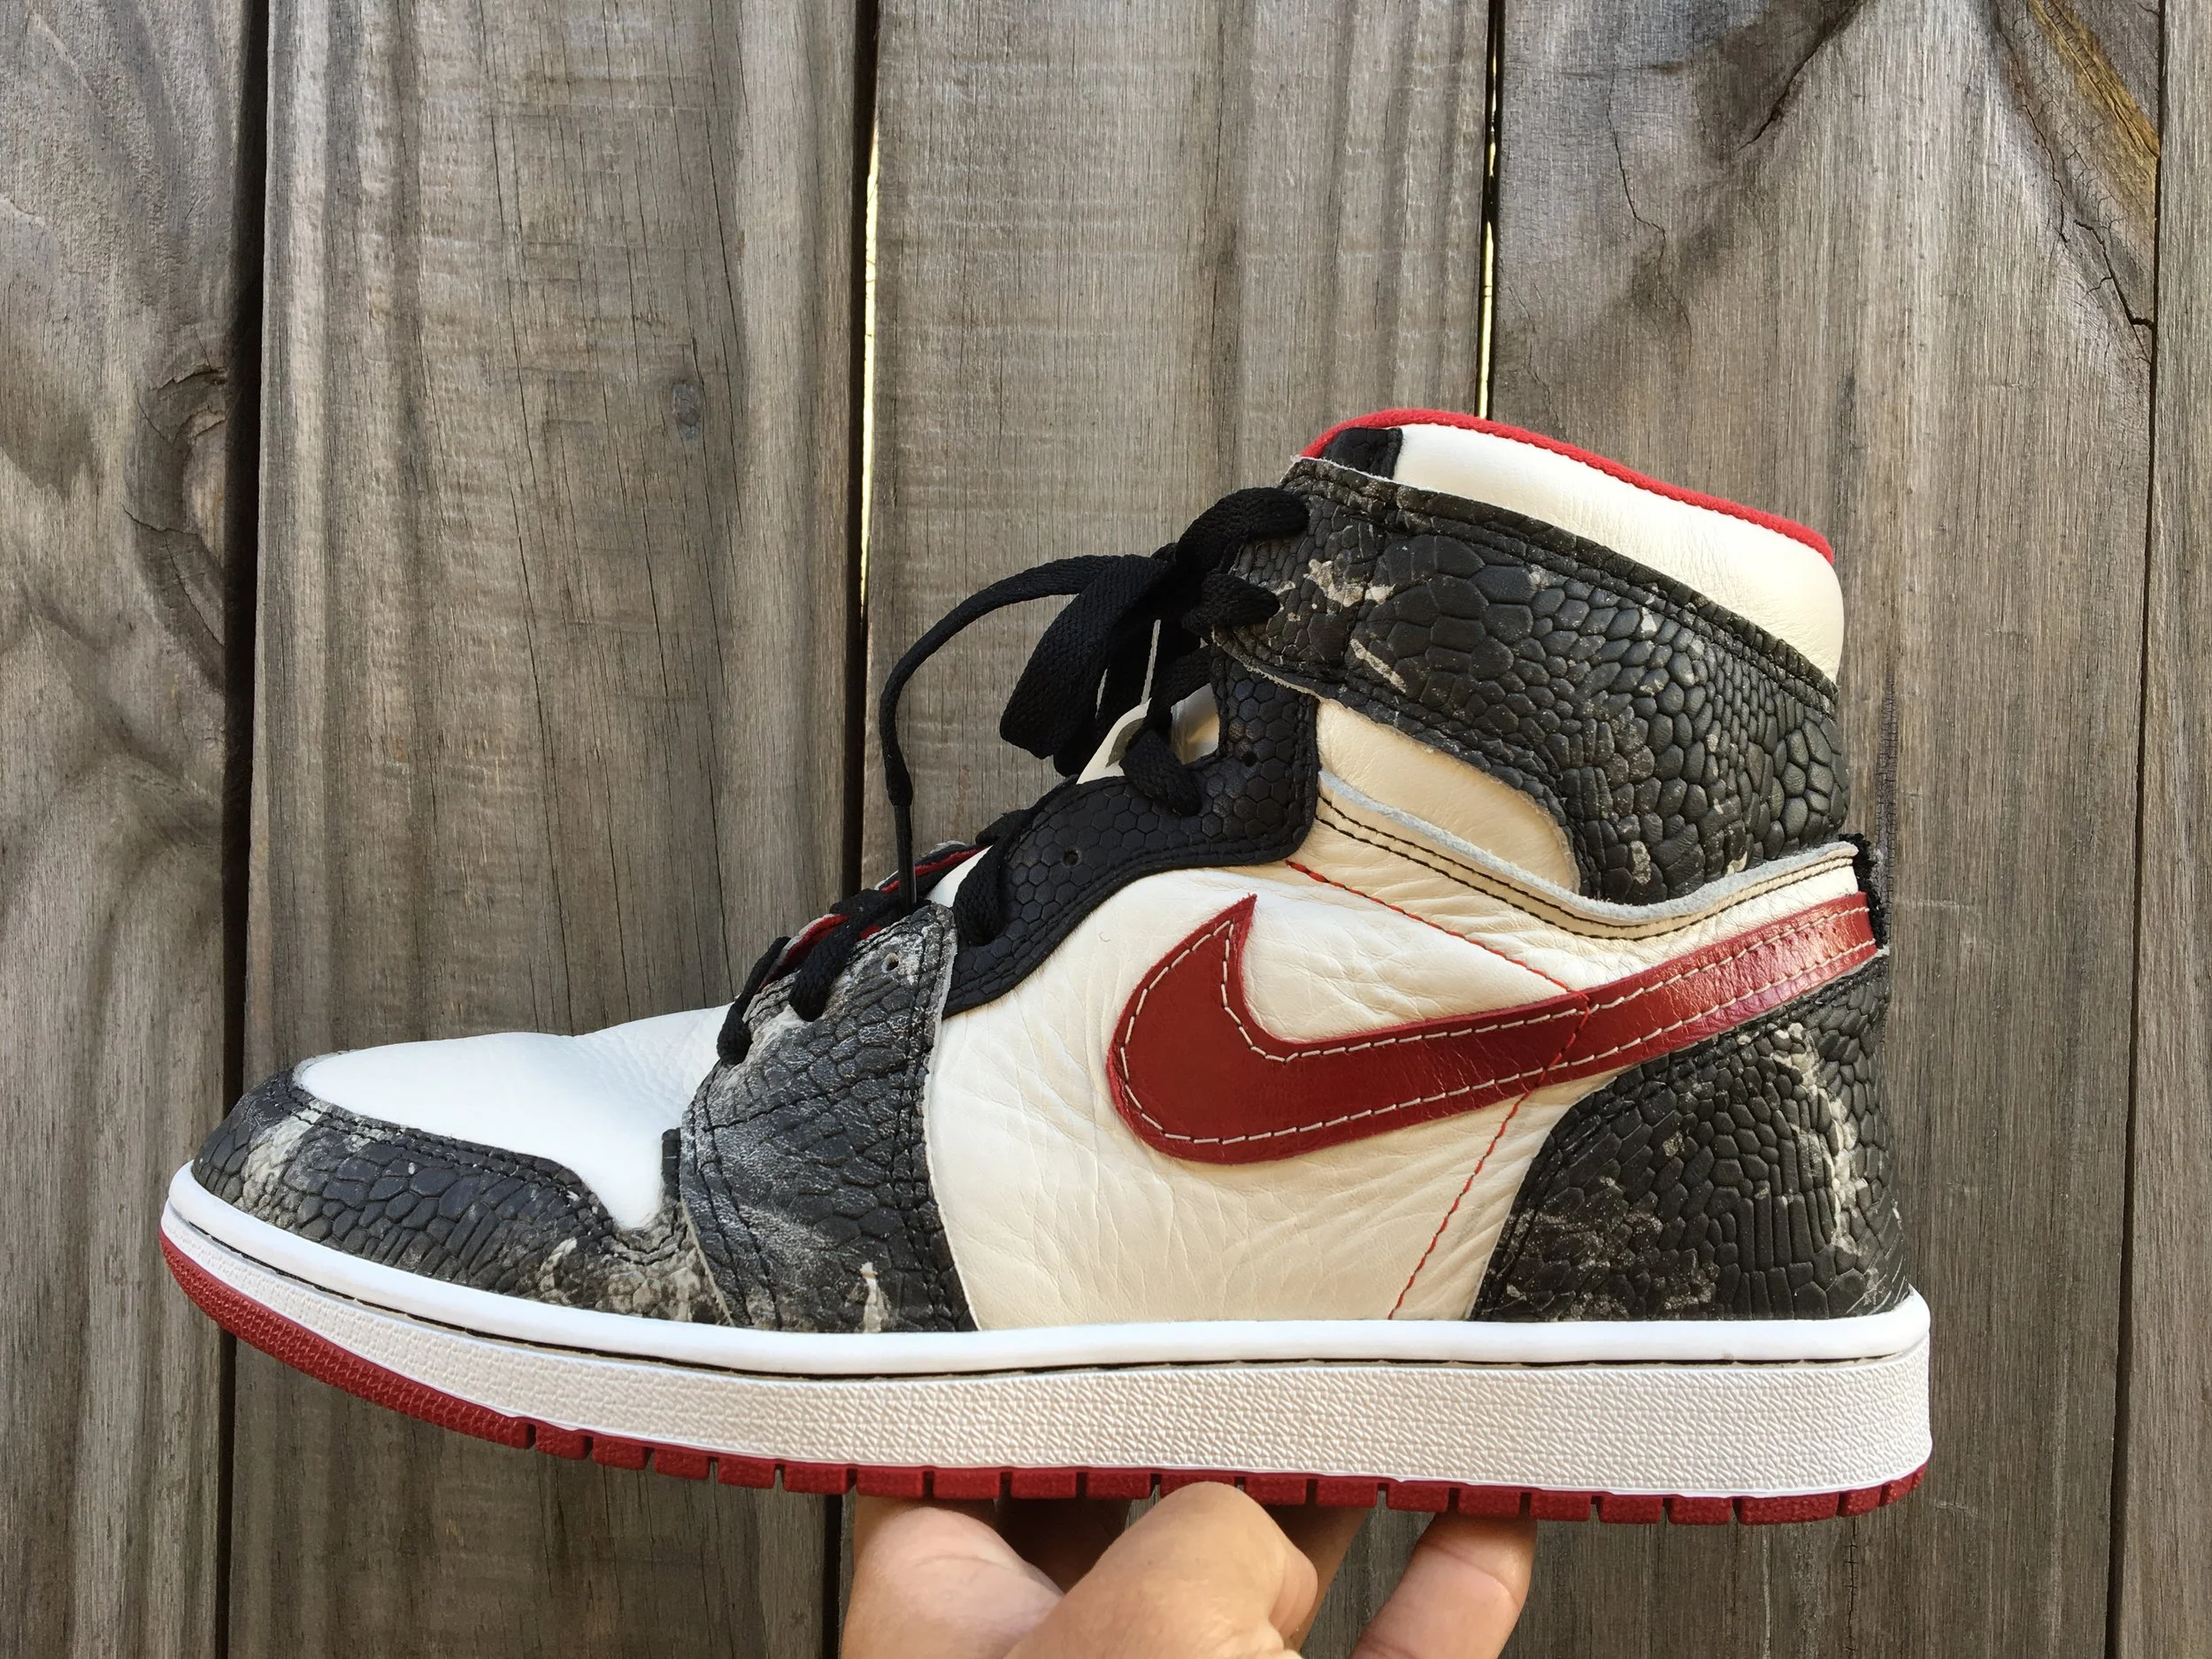
FOOTWEAR, INNOVATE Aaron Hankins 10/25/16 FOOTWEAR, INNOVATE Aaron Hankins 10/25/16 Showing the function Read More
FOOTWEAR, INNOVATE, THE LIBRARY Aaron Hankins 10/22/16 FOOTWEAR, INNOVATE, THE LIBRARY Aaron Hankins 10/22/16 Learning About : 3D Drawing Read More
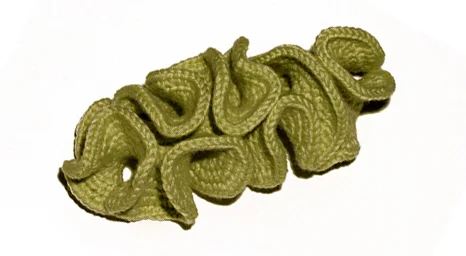
INNOVATE, THE LIBRARY Aaron Hankins 10/21/16 INNOVATE, THE LIBRARY Aaron Hankins 10/21/16 Learning About: Hyperbolic Geometry Read More
FOOTWEAR, INNOVATE Aaron Hankins 10/20/16 FOOTWEAR, INNOVATE Aaron Hankins 10/20/16 Sneaker School - Recap Read More
FOOTWEAR, INNOVATE Aaron Hankins 10/19/16 FOOTWEAR, INNOVATE Aaron Hankins 10/19/16 Sneaker School - Day 5 Read More
FOOTWEAR, INNOVATE Aaron Hankins 10/19/16 FOOTWEAR, INNOVATE Aaron Hankins 10/19/16 Sneaker School - Day 4 Read More